Community
Sharing is Caring
Pottery can feel like a long learning curve — but it doesn’t have to be done alone. Some of the most valuable growth comes from seeing what others are doing, learning from experimentation, and passing along what works.
Whether you’re just getting started or have been working with clay for years, I hope this sparks ideas, builds confidence, and encourages you to keep creating.
Recipes
Glaze Combos
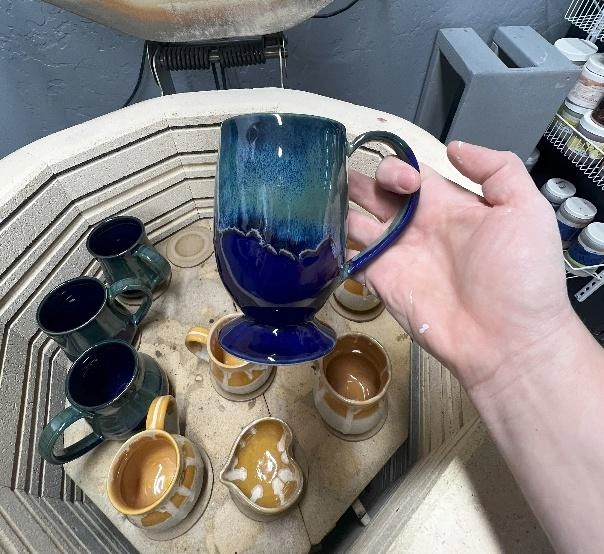
AURORA DRIP
The textured turquoise breaks beautifully where it pools. Wax the foot — this combo runs.
- BASE: AMACO PC-12
- ACCENT: PC-25 TURQUOISE
- CONE 6 OXIDATION
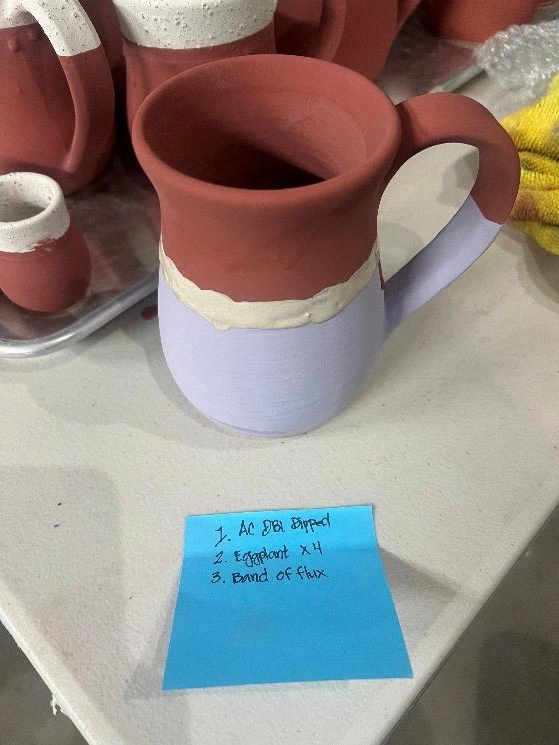
QUIET STONE
Great for pieces with carved or thrown texture — the iron settles into the lines.
- BASE: COYOTE SHINO WHITE
- ACCENT: 2% RED IRON WASH
- CONE 6 OXIDATION
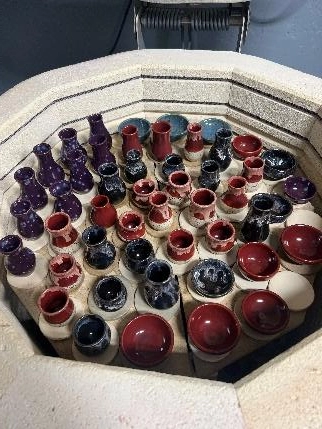
KILN BLOOM
Dip clear, then pour a single vertical stripe of plum from the rim. Tilt to let it travel.
- BASE: MAYCO SW-001 CLEAR
- ACCENT: SW-177 SPECKLED PLUM
- CONE 6 OXIDATION
Process
How It's Made
01
Wedging & centering
Every piece starts with a wedged ball of stoneware. Centering is the quietest part of the day — no shortcuts here.
02
Throwing on the wheel
Walls are pulled thin but with enough body to hold a confident foot. I keep a notebook of weights so cups and bowls stay consistent across a run.
03
Trimming & attaching
Once leather-hard, pieces are flipped and trimmed. Handles are pulled by hand and scored on while the body is still receptive.
04
Bisque firing
First firing to cone 04. This sets the clay so it can take glaze without slumping.
05
Glazing
Wax the foot. Dip, pour, brush — combinations are tested on small tiles before they ever touch a finished pot.
06
Glaze firing
Cone 6 oxidation, slow cool. The kiln is loaded tight but with breathing room for runs.
Studio Notes
Tips & Techniques
Wax your feet
Liquid wax resist on the bottom of every piece keeps glaze off the foot and saves your kiln shelves. Non-negotiable for any glaze that moves.
Test tiles save firings
Before committing a new combo to a finished piece, run a vertical test tile so you can see how the glaze behaves where it pools and where it thins.
Weigh your clay
If you want a matching set, weigh each ball before throwing. 1 lb 6 oz = a comfortable everyday mug for my hands.
Slow down the cool
A slow cool from 1900°F to 1500°F gives certain glazes (rutiles especially) time to crystallise. Worth the extra hour.
Document the failures
Photograph the cracks, the runs, the misfires. The next idea usually lives inside the last mistake.